Fuselage
29JULY2014.
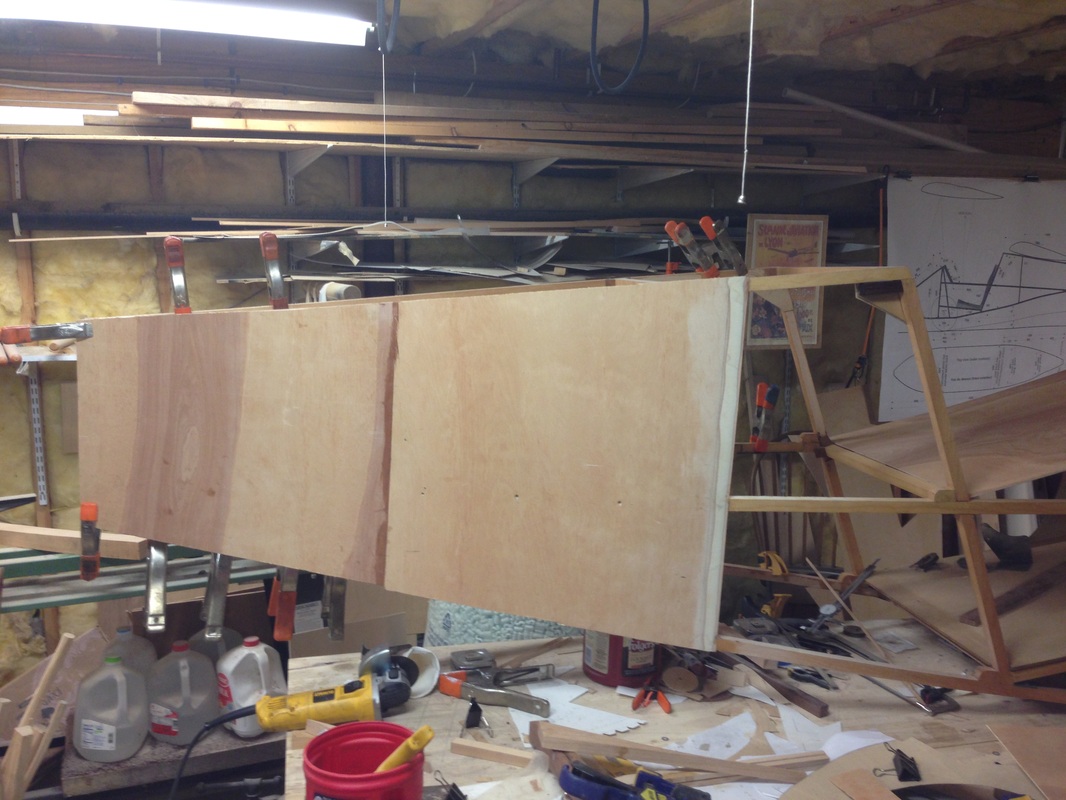
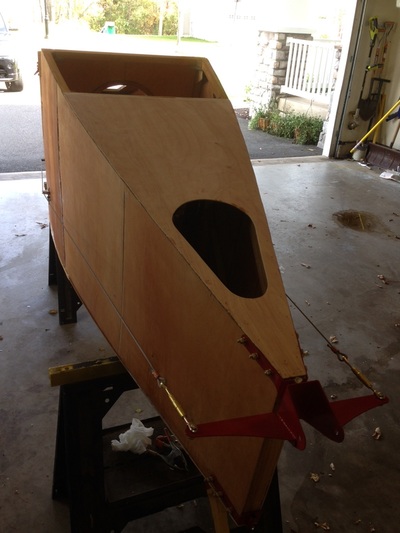
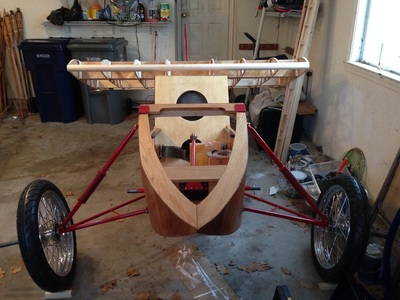
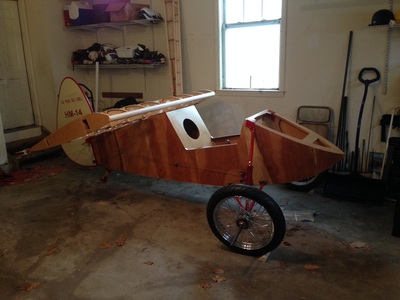
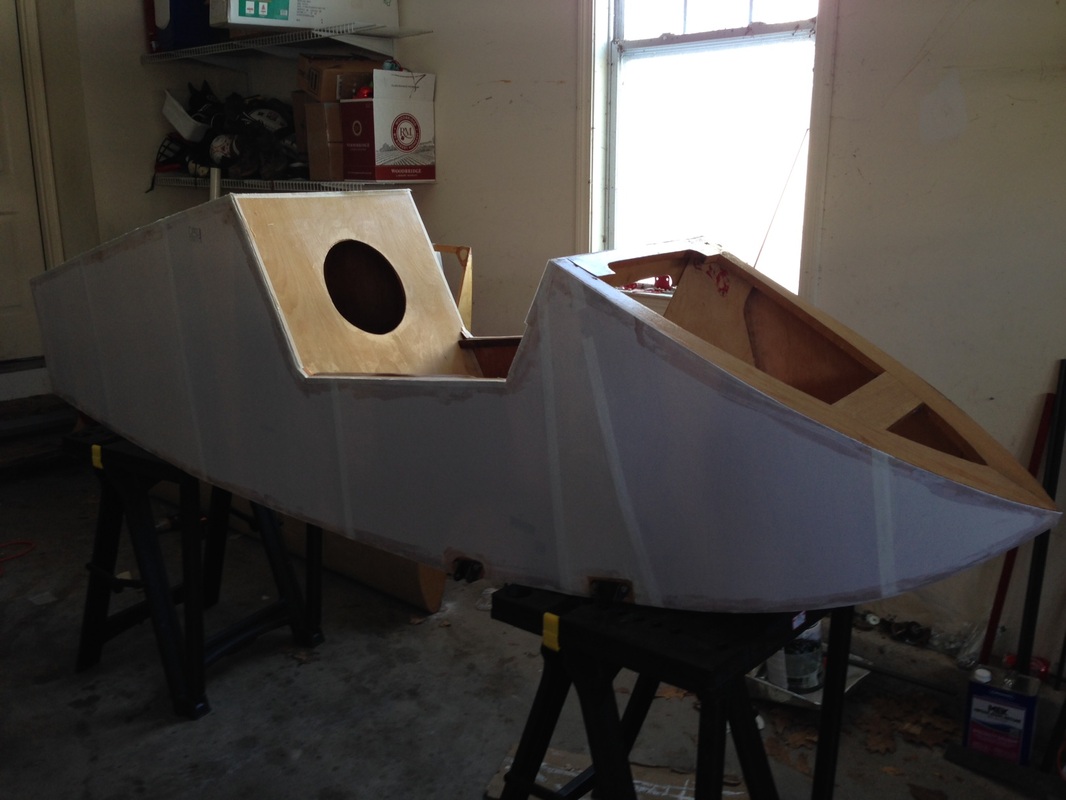
After I finished my rudder (and I'm still thinking about the lettering or artwork that will apply), I began working on the fuselage. The plans indicate 20mm x 20mm, and so I went slightly larger at 7/8" x 7/8" spruce. I use either Aircraft Spruce or Wicks Aircraft Supply, depending on which one has the shortest lead times. I ordered 8 or 10 lengths at 8' and one remaining at 4'. Then I ordered the System 3 epoxy, epoxy varnish and went to Home Depot to buy some wood to make a building table. Being the shortest plane I've built, I knew I could easily build it in my basement, and even get it through the door. The design overall is easy, but you need to decide how to handle the 2 lower curves at the front. I decided to steam them into the approximate curvature, and then cock them at 45-degrees so that their ends would meet up at approximately the same point in space. Then I cut the 2 halves of the "lyre" that the engine mount attaches to and made that. Next, I had a real juggling act with measuring the lengths, angles and centering of everything in place. It's not easy to get everything to line up in free space, and I realized that I was building the fuselage perfectly backwards from the way Mignet did it- he started at the nose and attached ply wood as he went- I was working forward from the tail. I think I might try it his way next time. Now the hard work is done and I am epoxy varnishing the fuselage and adding any bits and pieces necessary. Then I will attach the 1/8" (close to original 3mm) birch plywood to juse the left and right sides for now, leaving the top and bottom open for ease of reach in placing anything needed for the wings to bolt onto, for control linkages to pass through, etc, etc. When the engine comes, I will then place plywood over the lyre and be able to work both from the top and the open bottom. For the brackets, my friend Ed helped me by putting them into CAD so that we can waterjet them. I'll share those photos soon. In the meantime, here are some photos of the fuselage from start to where I am today.
After I finished my rudder (and I'm still thinking about the lettering or artwork that will apply), I began working on the fuselage. The plans indicate 20mm x 20mm, and so I went slightly larger at 7/8" x 7/8" spruce. I use either Aircraft Spruce or Wicks Aircraft Supply, depending on which one has the shortest lead times. I ordered 8 or 10 lengths at 8' and one remaining at 4'. Then I ordered the System 3 epoxy, epoxy varnish and went to Home Depot to buy some wood to make a building table. Being the shortest plane I've built, I knew I could easily build it in my basement, and even get it through the door. The design overall is easy, but you need to decide how to handle the 2 lower curves at the front. I decided to steam them into the approximate curvature, and then cock them at 45-degrees so that their ends would meet up at approximately the same point in space. Then I cut the 2 halves of the "lyre" that the engine mount attaches to and made that. Next, I had a real juggling act with measuring the lengths, angles and centering of everything in place. It's not easy to get everything to line up in free space, and I realized that I was building the fuselage perfectly backwards from the way Mignet did it- he started at the nose and attached ply wood as he went- I was working forward from the tail. I think I might try it his way next time. Now the hard work is done and I am epoxy varnishing the fuselage and adding any bits and pieces necessary. Then I will attach the 1/8" (close to original 3mm) birch plywood to juse the left and right sides for now, leaving the top and bottom open for ease of reach in placing anything needed for the wings to bolt onto, for control linkages to pass through, etc, etc. When the engine comes, I will then place plywood over the lyre and be able to work both from the top and the open bottom. For the brackets, my friend Ed helped me by putting them into CAD so that we can waterjet them. I'll share those photos soon. In the meantime, here are some photos of the fuselage from start to where I am today.
01AUG2014
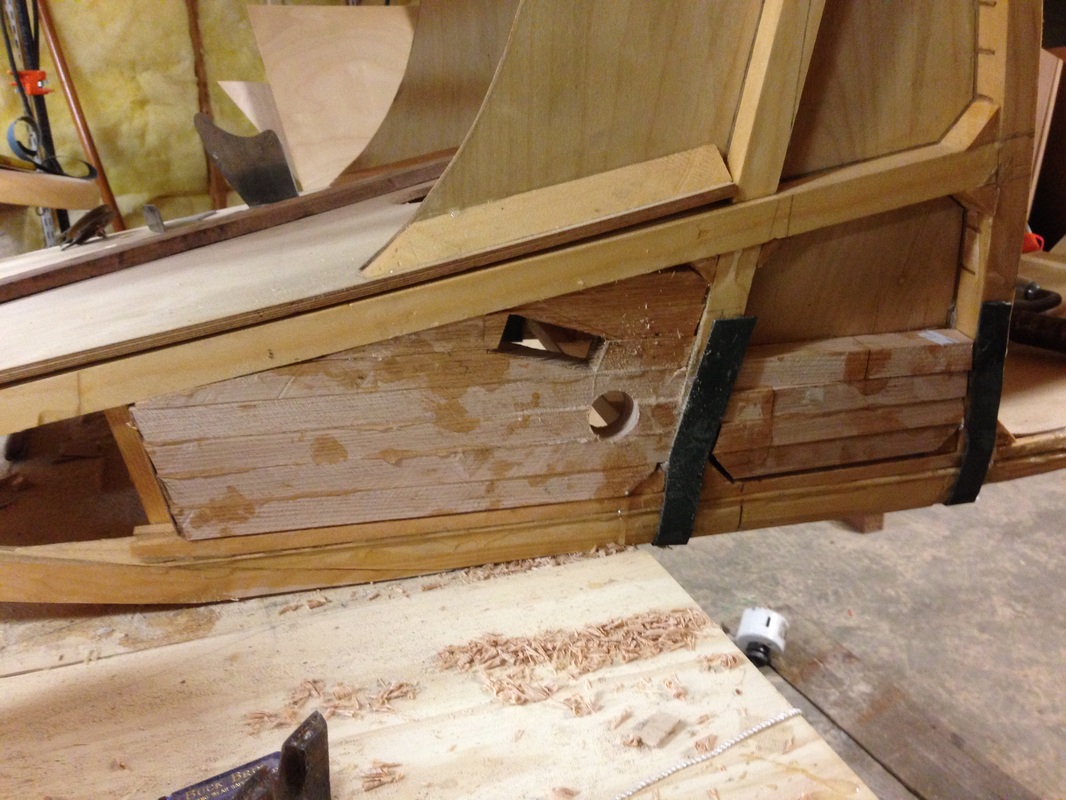
I've been working on some of the other bits and pieces of the fuselage, such as brackets, working out control linkage paths and tubing sizes and cutting/scarfing plywood for the sides. There is a bit of a pucker factor in drilling holes for the brackets (holes need to line up) and especially in the laminated "laths" under the seat for the pulleys and the tubing that goes out to the upper wing control linkage- everything has to line up! I used a Forstener bit to make a 1-1/8" hole for a .035 wall piece of tubing to act as a sleeve for the actual tubing doing the work to pass through- a 1" length should be strong enough and fairly snug yet not too much- especially with a slit to put a few drops of oil for lubrication. The pulleys- you just need to reconfirm where the rudder horns are and then run string tightly between those horn locations and where the pulley will besituated- for the angle as much as the position! I recommend doing all this before you glue up those laminations, as cutting the separate laminations before gluing (piece by piece, follow the traced lines and number the pieces so you don't get confused) will be much easier.
I've been working on some of the other bits and pieces of the fuselage, such as brackets, working out control linkage paths and tubing sizes and cutting/scarfing plywood for the sides. There is a bit of a pucker factor in drilling holes for the brackets (holes need to line up) and especially in the laminated "laths" under the seat for the pulleys and the tubing that goes out to the upper wing control linkage- everything has to line up! I used a Forstener bit to make a 1-1/8" hole for a .035 wall piece of tubing to act as a sleeve for the actual tubing doing the work to pass through- a 1" length should be strong enough and fairly snug yet not too much- especially with a slit to put a few drops of oil for lubrication. The pulleys- you just need to reconfirm where the rudder horns are and then run string tightly between those horn locations and where the pulley will besituated- for the angle as much as the position! I recommend doing all this before you glue up those laminations, as cutting the separate laminations before gluing (piece by piece, follow the traced lines and number the pieces so you don't get confused) will be much easier.
SUN 17AUG2014
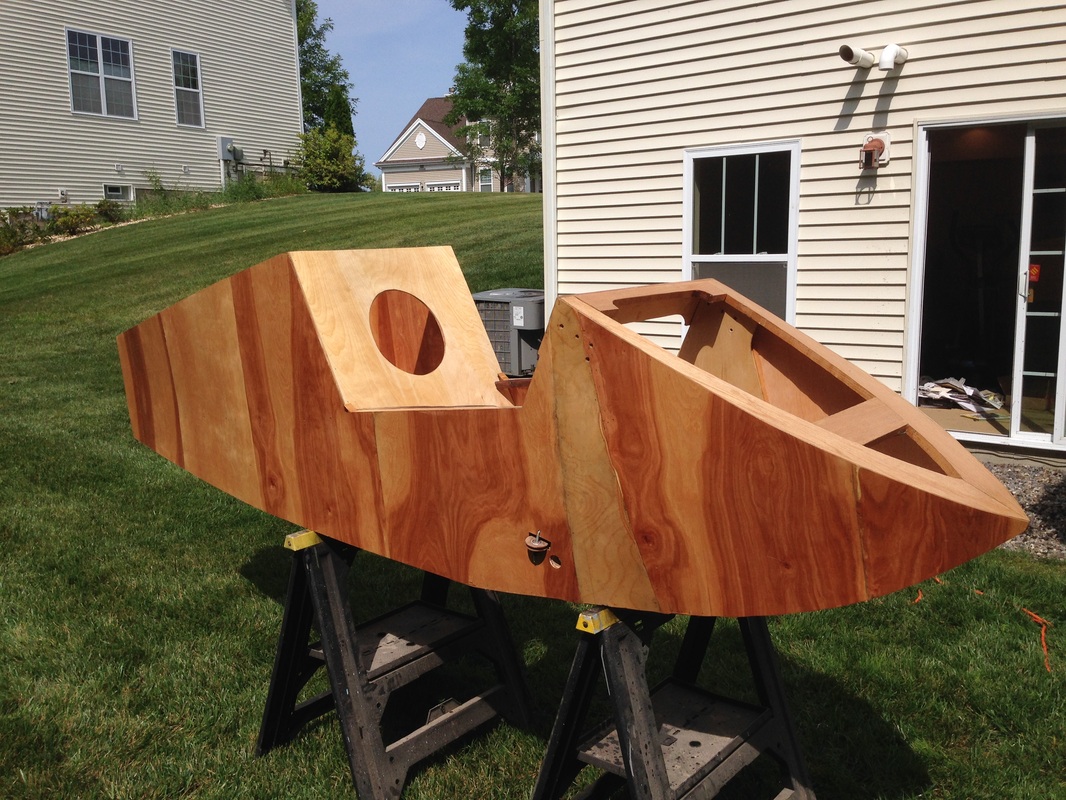
Today I brought out the fuselage to brush it down with epoxy varnish. Once we have all the control linkages in place, the motor mount designed and bolted on and then the rear wing attach points confirmed (because I have a bottom wing to attach!), then I'll finish closing the top and bottom. The unreachable-ness of some of the corners once all sides are on gives me pause to finishing up completely the fuselage.
Today I brought out the fuselage to brush it down with epoxy varnish. Once we have all the control linkages in place, the motor mount designed and bolted on and then the rear wing attach points confirmed (because I have a bottom wing to attach!), then I'll finish closing the top and bottom. The unreachable-ness of some of the corners once all sides are on gives me pause to finishing up completely the fuselage.
WED 03SEP2014 Middlebury, CT
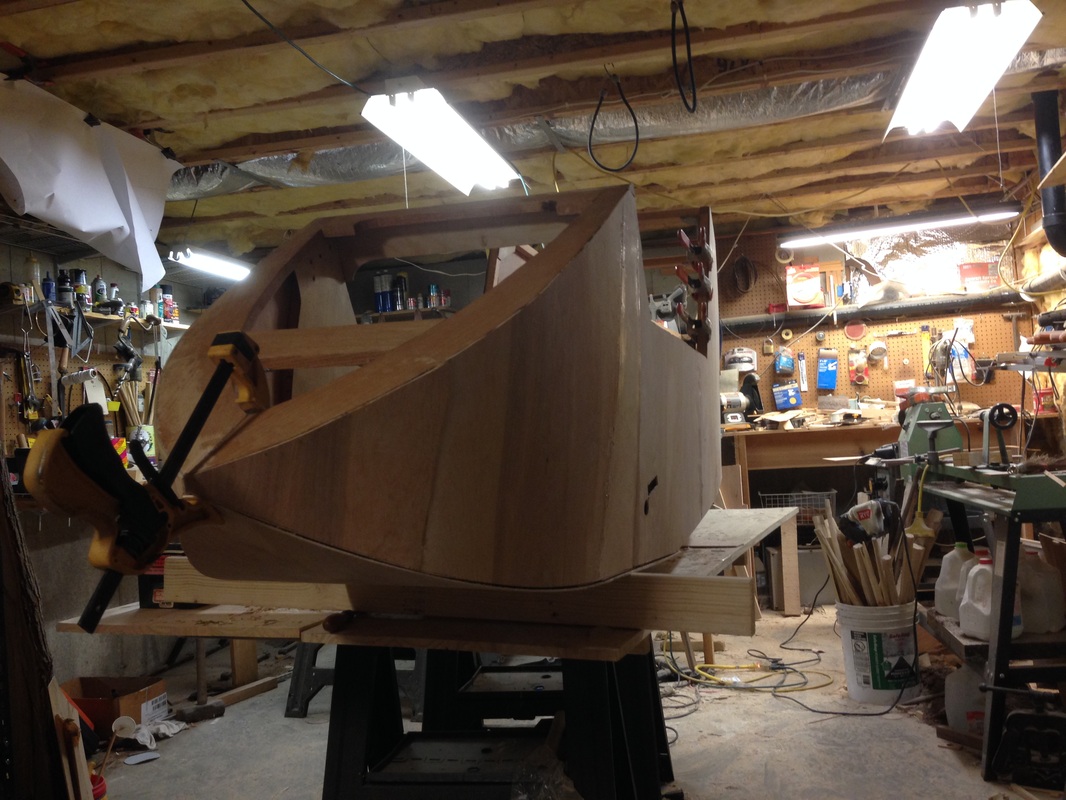
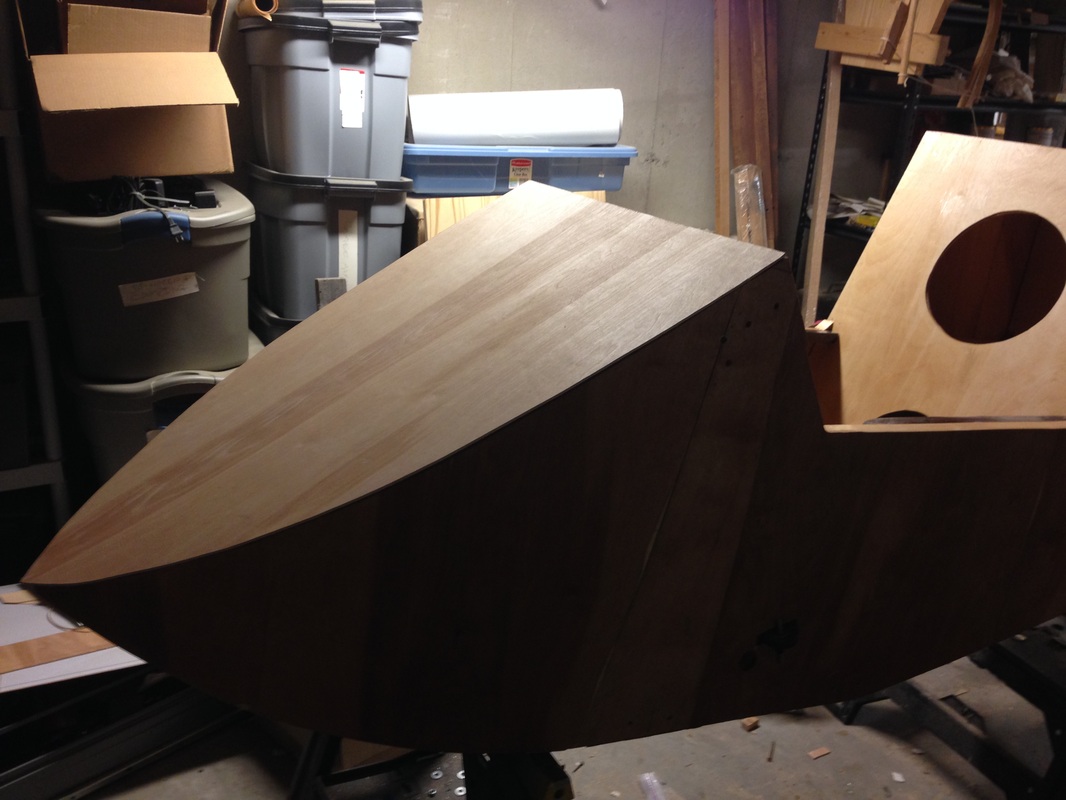
Today I received another sheet of 1/8" birch and rough cut the planking that will go underneath the engine. I will wait to glue this down after I finalize the engine mount and the cable runs. Once it is glued on, it will be hard to reach into that area to work!
14OCT2014
It's a lot of small detailed work right now. Every time I think I am ready to close up the fuselage, I keep remembering some tiny thing that would become impossible if I did. Seat belt attach points, internal landing gear buttressing, etc. The past few weeks I've been making more ribs, tweaking the design of the landing gear (I ordered/received the springs for the front LG), designed and installed the tailskid, etc.etc.
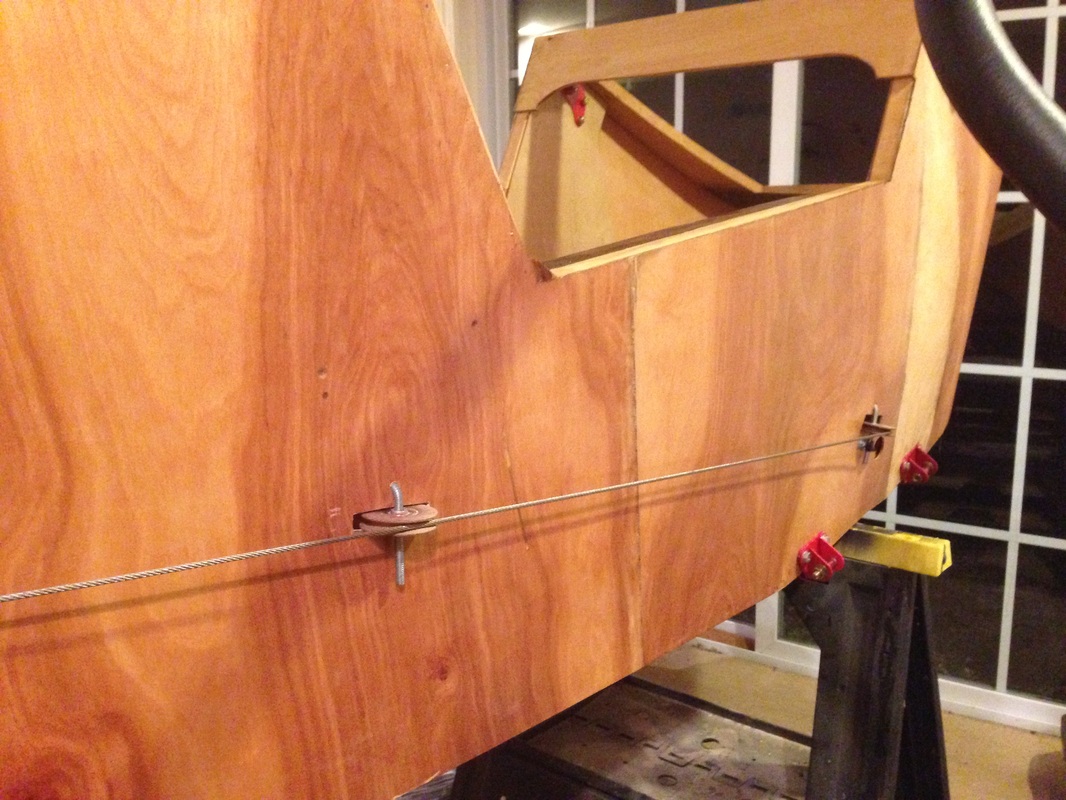
I put an extra pulley on each side of fuselage in order to keep the rudder cable from rubbing against the sides. I think it looks pretty cool, especially when being used.
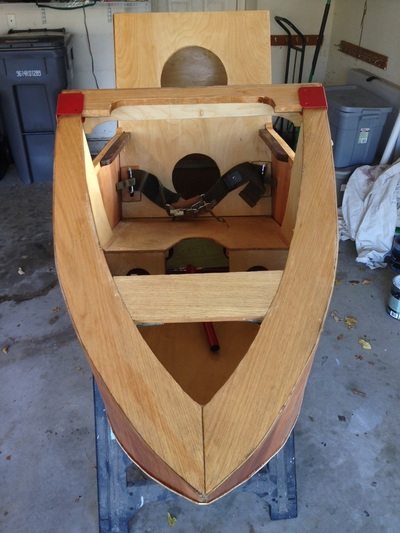
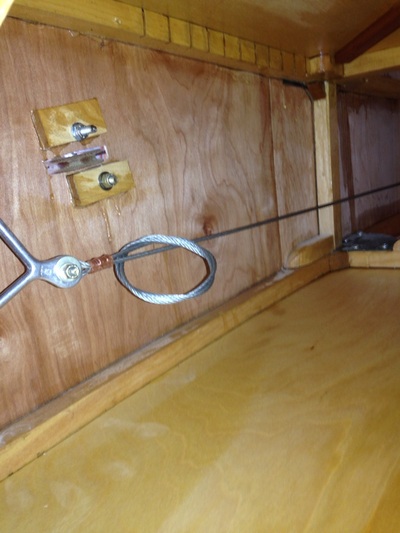
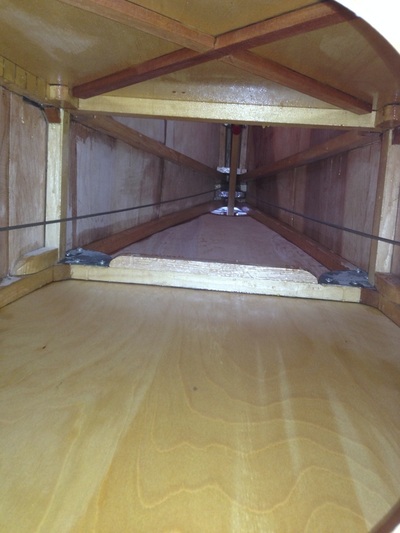
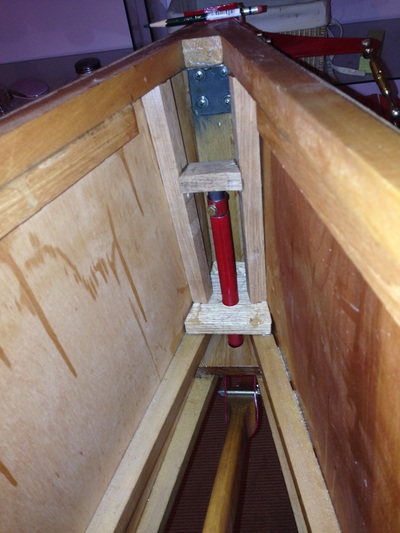
Below: the seat belt in cockpit, the cable/belt attachment, the cable run and the tail-skid support post it attaches to .
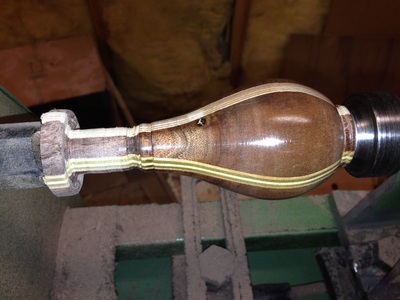
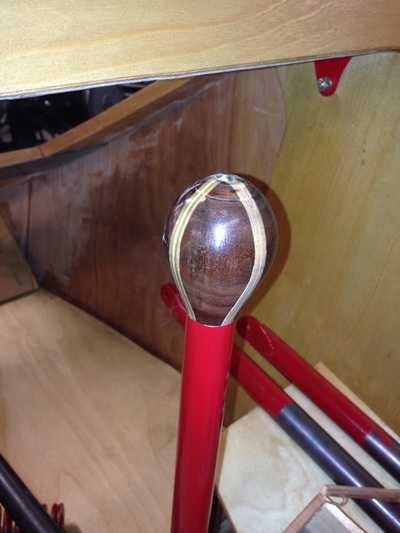
Control knob on the lathe and on the end of the control stick; will use the same theme for the throttle handle.
29NOV2014. Middlebury, CT
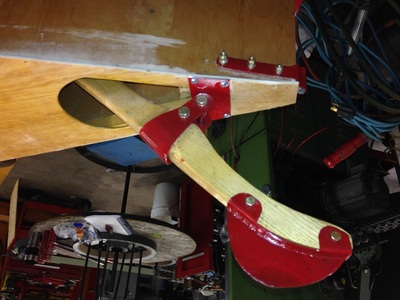
Here is were I cut 2 tear drop shaped holes for easy access: first photo shows the tailskid arrangement- I had a skid left over from my Fokker DR-1 building days, so used that (made of ash). Notice the trapezoidal plate where the tail skid pivot bolt is: that's just in case an impact pushes the tailskid post in further, the arms with the 2 bolts will push into that plate rather than the 1/16" ply covering- the plate is screwed into the 7/8" longerons. The second shot shows the opening that would be there for the Casandy flap, but I am using it to inspect/check the tailskid, associated bungees, seat belt attachment to the tailskid pivot tube, and to reach the rear spar attach points.
04JAN2015
I brought my plane back home from my friend Ed's workshop and painted the landing gear, mounted the tires on the rims, glued the ribs to the middle section of the lower wing, and mounted the wing onto the fuselage. I set the wing at approximately 6-degrees, and it is adjustable if needed. Now I am ordering more wood to complete the lower wing, and will next build the middle section of the upper wing. Ed and I will water-jet the hinges and top-wing pivot brackets this week- these wonderfully CAD'd by friend Tony Moore in California.
FEB 2015 Middlebury, CT
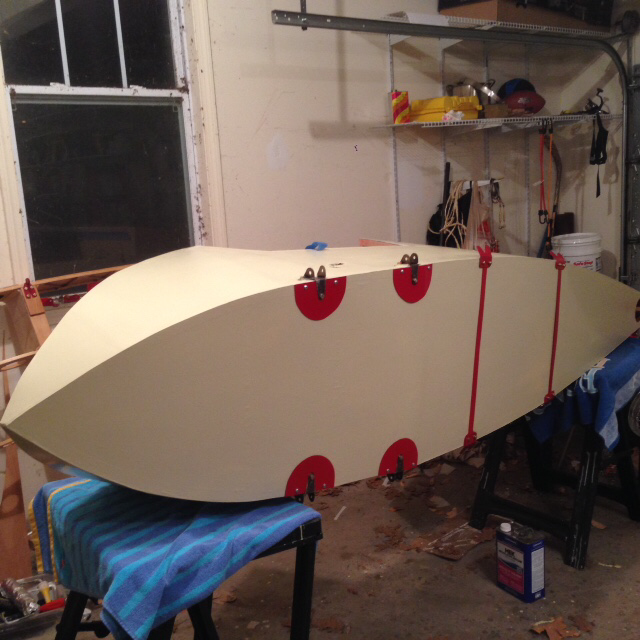
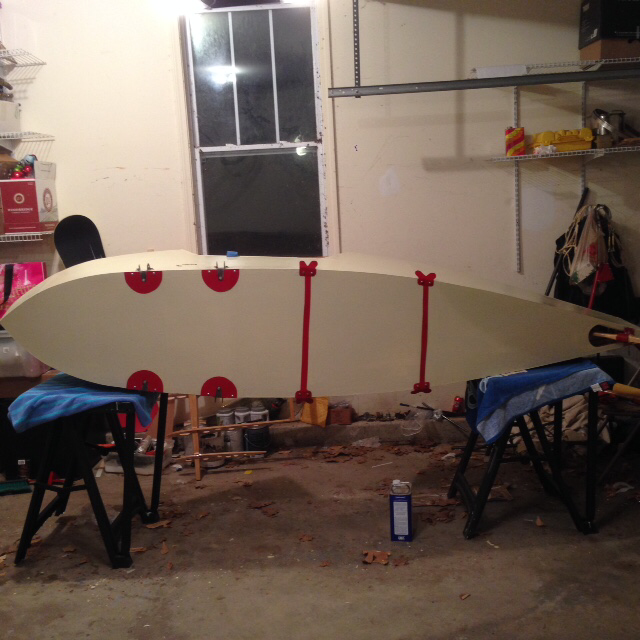
The 2nd half of JAN and this month I covered the fuselage and will at least begin painting it. Also figured out from the plans how to place and make the 2 brackets on the bottom that will connect the flying wires to the wings!
The 2nd half of JAN and this month I covered the fuselage and will at least begin painting it. Also figured out from the plans how to place and make the 2 brackets on the bottom that will connect the flying wires to the wings!
Late FEB/early MAR 2015. MIDDLEBURY, CT
Covered the fuselage; painting now.
Covered the fuselage; painting now.
05MAR2015 Middlebury, CT
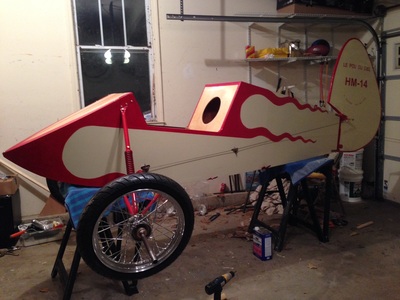
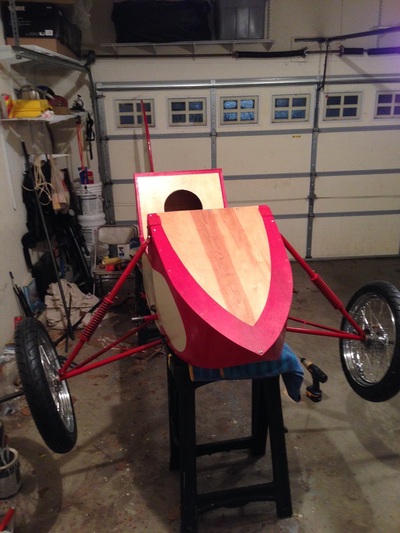
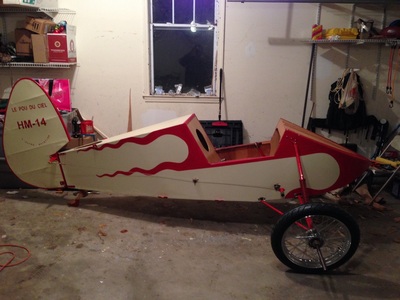
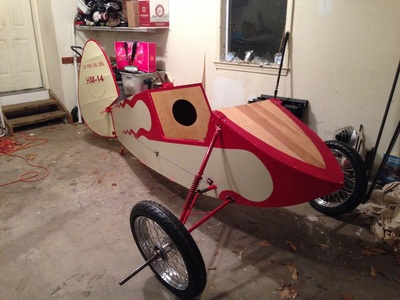
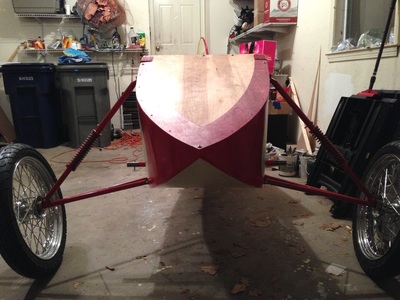
I have really been wanting to get the fuselage back onto its gear, re-attach the rudder and control cables and simply get a sense of what it will look like when finished. Today was a snow day so in between work related activities, I was able to do so. I am also happy with the overall symmetry of the build. The paint job really looks hand-painted but I wanted it to- it's supposed to be from 1933, right? Please feel free to post your thoughts and comments....
TUE 19JUL2015 Middlebury, CT
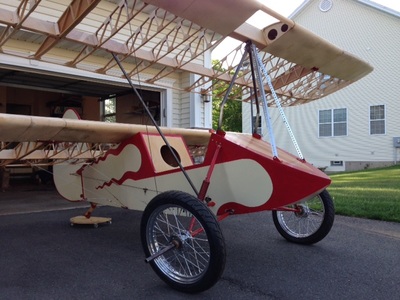
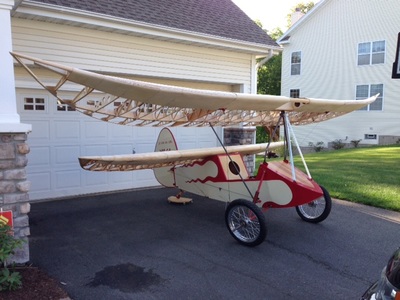
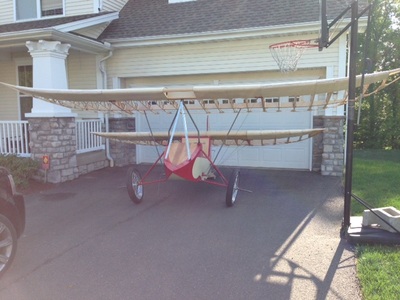
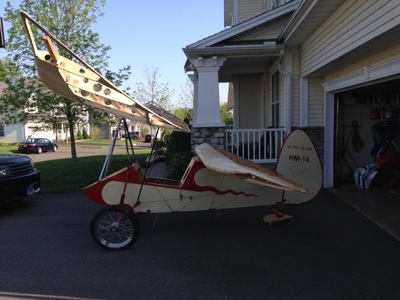
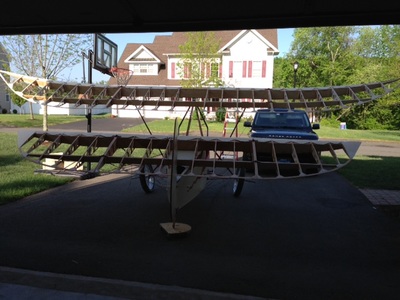
I have finally finished the top wing enough to test mount it to the fuselage. The entire arrangement looks good, and included installing all of the flying wires except for the 2 running from the front deck to the wings. Once those are in, everything should be very tight. I also need to make the incidence angle tubes and brackets. Once that's done, the 2 major things to then do are get the gas tank installed, and begin covering/painting the wings. Final thing will be the engine mount.
I have finally finished the top wing enough to test mount it to the fuselage. The entire arrangement looks good, and included installing all of the flying wires except for the 2 running from the front deck to the wings. Once those are in, everything should be very tight. I also need to make the incidence angle tubes and brackets. Once that's done, the 2 major things to then do are get the gas tank installed, and begin covering/painting the wings. Final thing will be the engine mount.
