THU 28AUG2014 Middlebury, CT
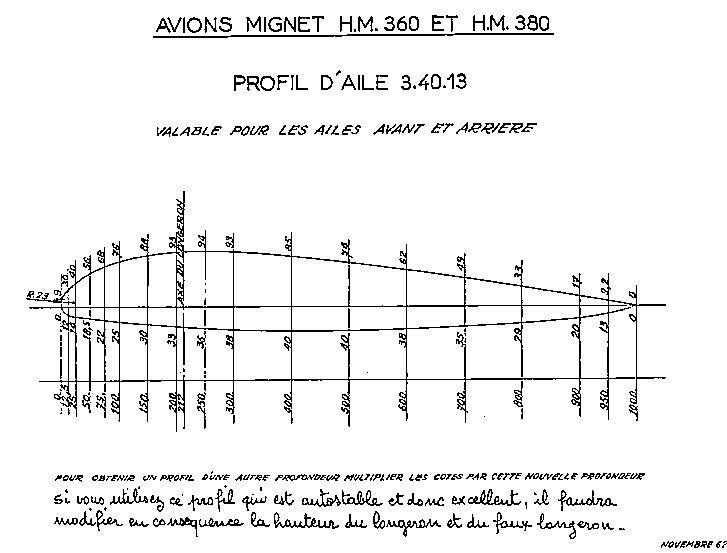
I don't know why, but it has been impossible for me to locate a full sized airfoil pattern to work from. I finally located an online airfoil plotter at Airfoil Tools and copied the DAT file to it and plotted out the airfoil at the chord length I was interested in. The pattern that I want to work with is the Mignet 34013.
I've seen chords discussed at lengths ranging from 1200mm to 1400mm. It looks like some of the aircraft up until now have even had lower/upper wings of different chord lengths. The way my build is coming out, I am considering 1200mm for the lower wing and 1300 mm for the top. If you don't have access to a plotter, check your local copy shop or office supply store. Where I live there is a chain called "Staples" and you can upload files like this to them for plotting- for about USD $7.
Next will be to place the plot onto a board and cover it in clear PVC tape, which is generally epoxy-resistant. Then build the jig around the perimeter, and mark where all the wood pieces go, where the holes are (spars), etc. Then it is important to build the jig so it easily comes apart to release the finished rib, and sometimes placing holes in strategic locations in the base help in pushing out the rib.
More as I build the jig and begin making ribs!
MON 08SEP14 Middlebury, CT
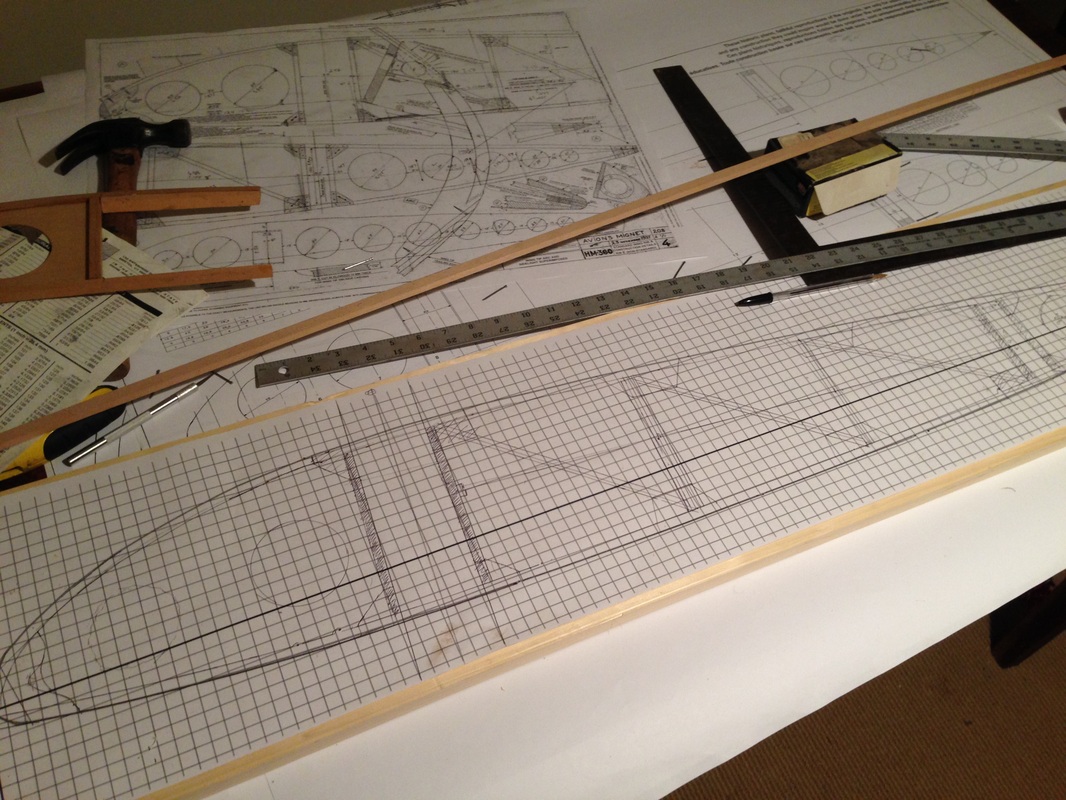
I guess I'm spoiled. When building a wing, I'm used to finding a full scale rib with all dimensions so that I can simply plot it out full-sized, cut it out, glue it to a big board, build a jig around it and begin cutting, placing and gluing wood.
It's not like that in the Flying Flea world- at least that I can find. But this past weekend, I was able to work it out to derive my own pattern based on this airfoil, and am about to begin building a few ribs. Mainly, I want to use them to confirm the locations of the attach points on the fuselage behind the cockpit (the lower/rear wing), so that I can make sure it is strong enough. Once I do that, I can install the mounting bolts and consider closing up that part of the fuselage with plywood. I really look forward to building the spars, with the whimsical upsweep toward the tips!
MON 15SEP2014 Middlebury, CT
Made my first rib! When placing it on the backside of the fuselage to confirm attach points, they were exactly where I planned (and hoped for). Note: where you see the rib sitting is not its final location! It was simply the most stable place to sit still and let me take a photo. Onwards and upwards!
Made my first rib! When placing it on the backside of the fuselage to confirm attach points, they were exactly where I planned (and hoped for). Note: where you see the rib sitting is not its final location! It was simply the most stable place to sit still and let me take a photo. Onwards and upwards!
TUE 25NOV2014 Middlebury, CT
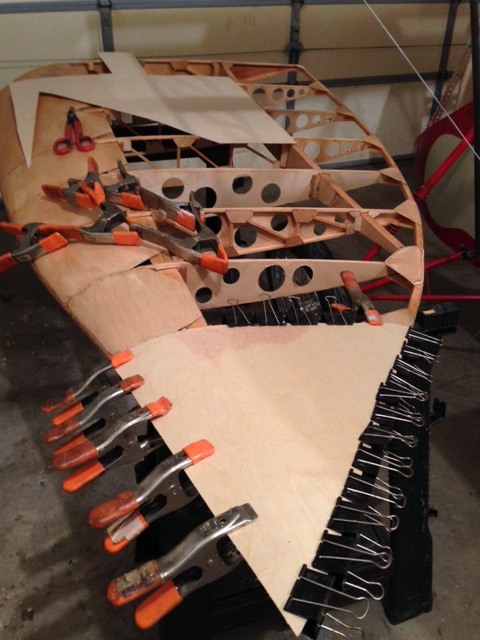
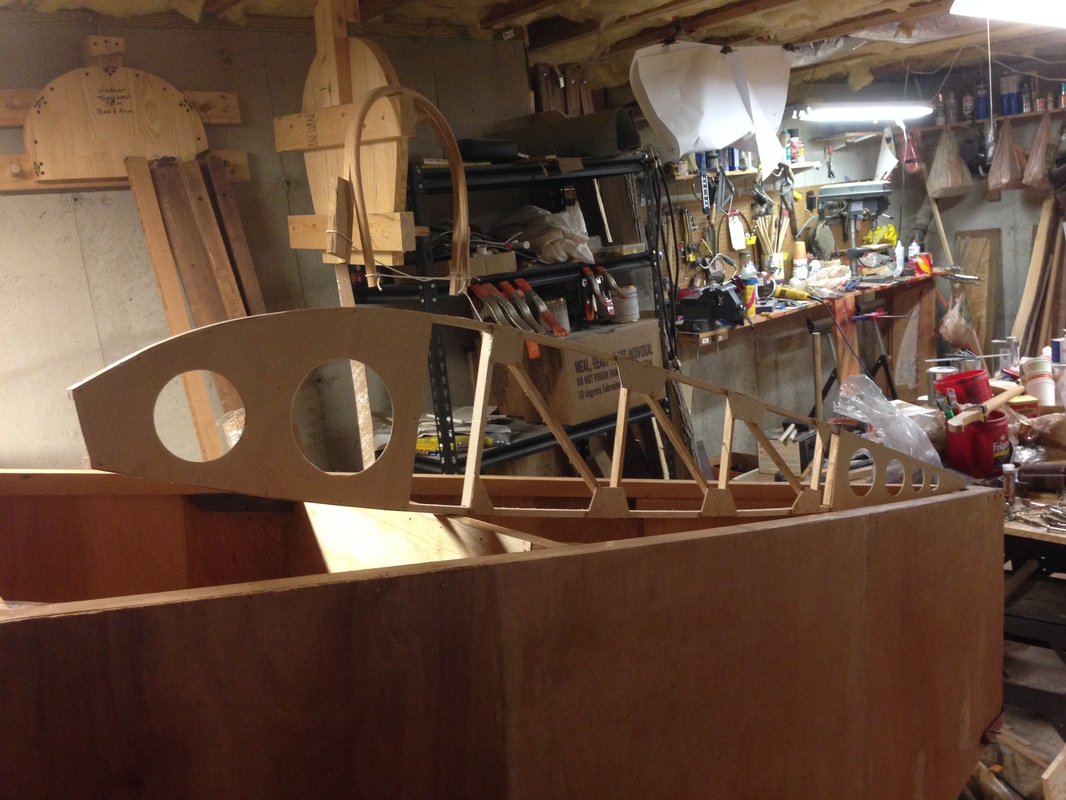
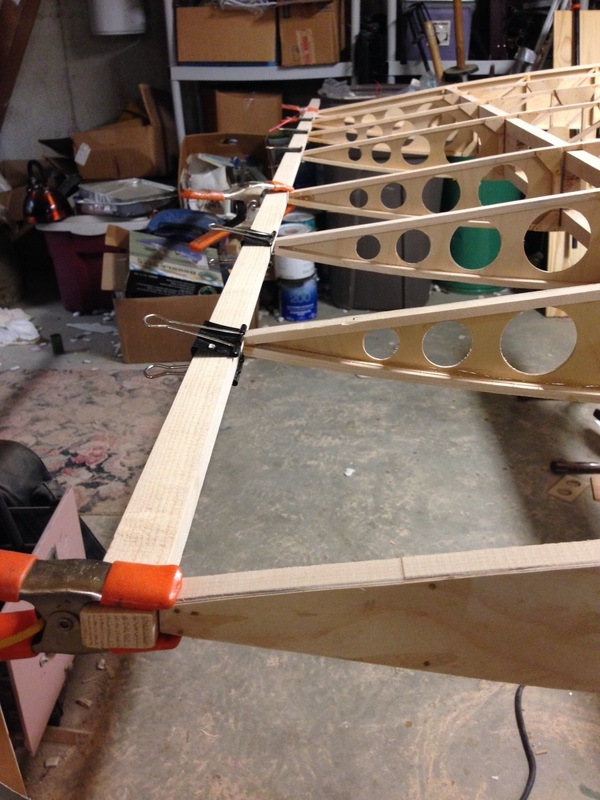
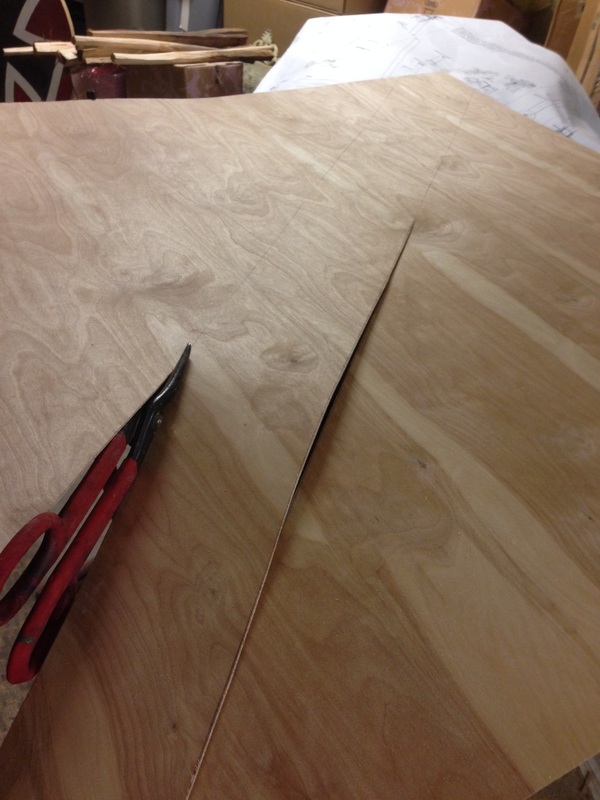
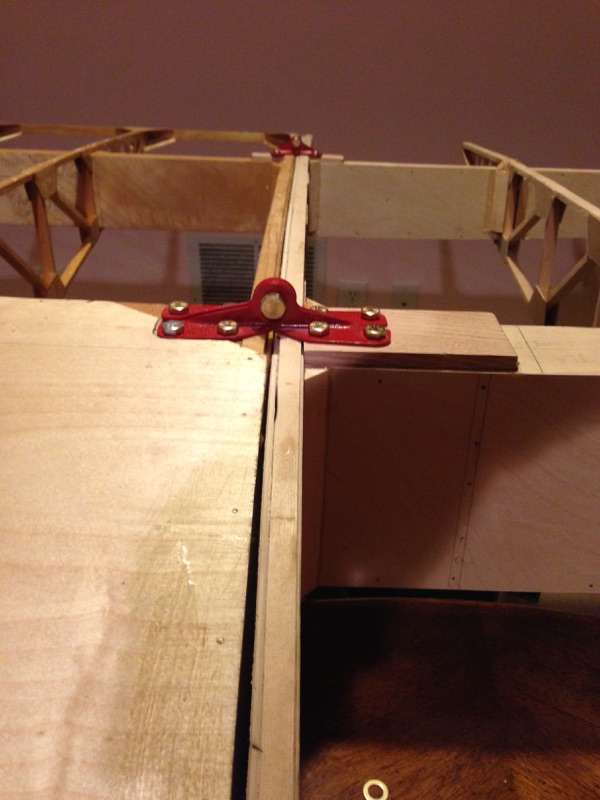
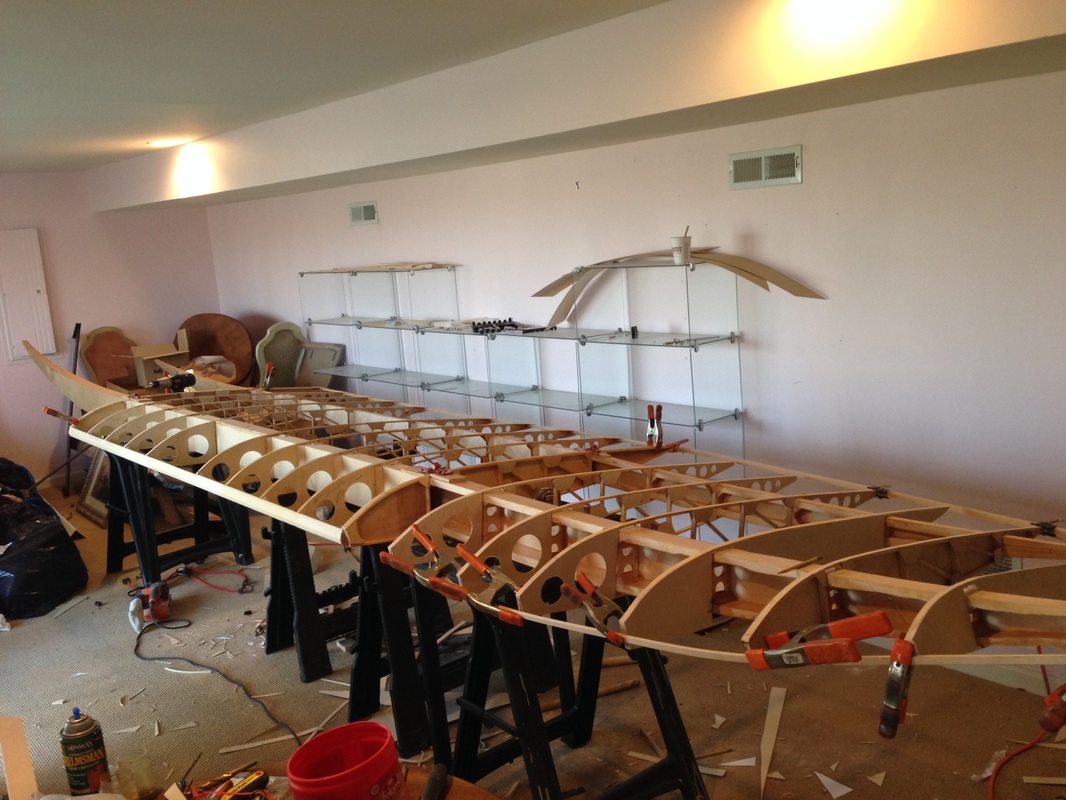
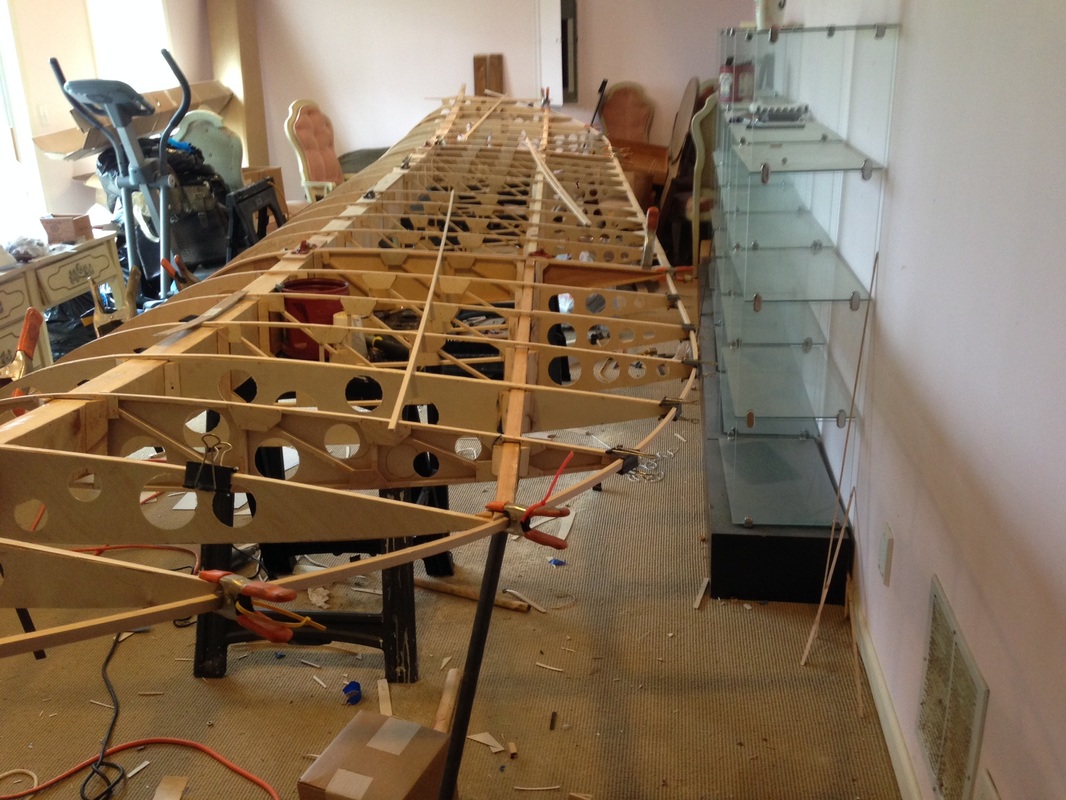
OK, I have now made a bunch of ribs- the full sized 1300mm chord ones. Soon I'll need to make the jig for the few shorter ones out towards the wingtips. As I am building the spar for the lower middle wing section first, I clamped those associated ribs together and sanded the leading and trailing edges to be flush. It is critical to use the spar openings as a reference. The result is shown- nice even intersection of the trailing and leading edges to the ribs. When I'm ready, I'll glue them on and finish-sand them to shape (by hand).
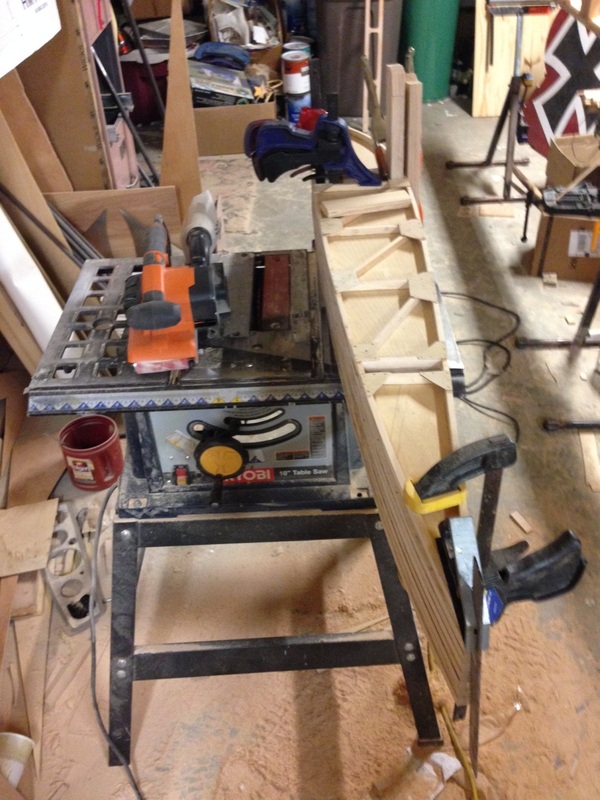

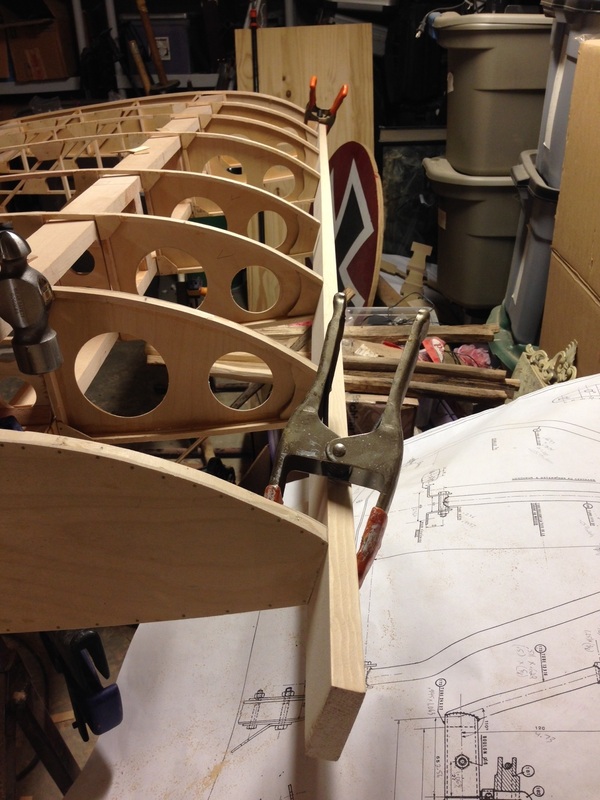
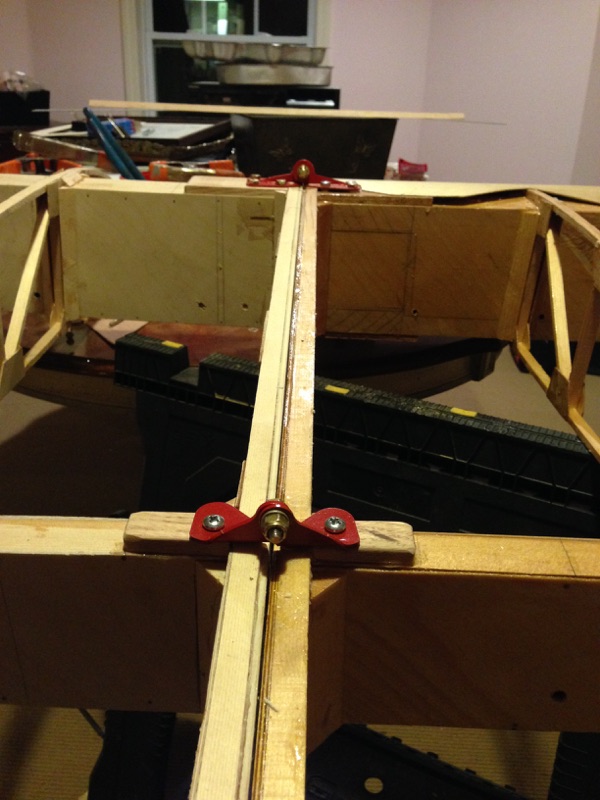
For the spar webs, I ordered more 1/16" 90-degree birch plywood and cut it at a 45 degree angle. I'll confirm the attach points for the fuselage and hinges before closing the spar "ladder" up for good. You can see my test fit of the front spar, with the supporting spacers that align with each rib. For the points where the wing attaches to the fuselage, I used oak- through which long bolts will pass to brackets on the back and the fuselage itself in the front. For the rear spar, I just used oak for the spacers and did not make lightening holes in them. At the far right, you can see the test fit of the spar ladders and the ribs.


FEB 2015 Middlebury, CT
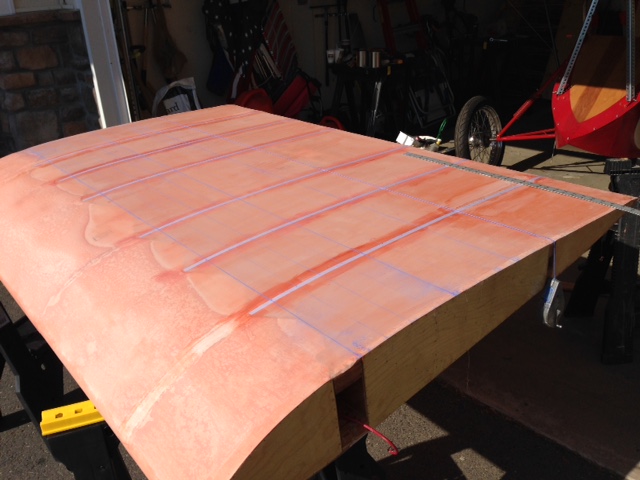
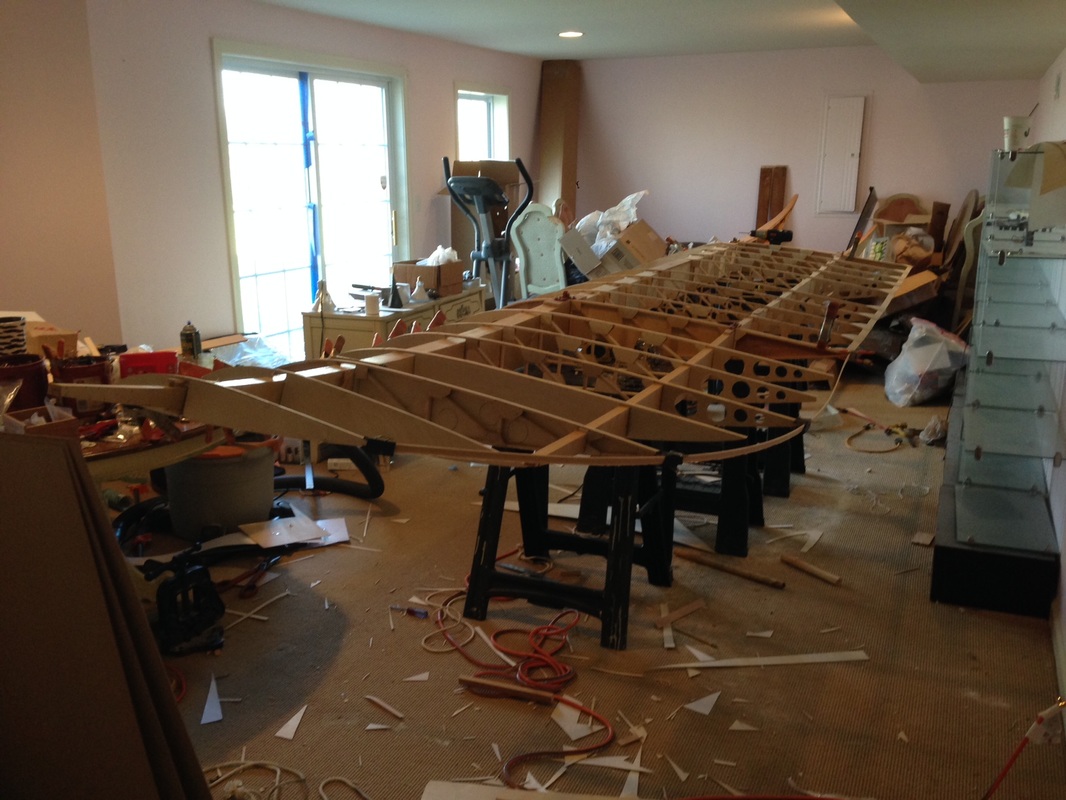
Most of my work the past few weeks has been on the wings. I have completed the 2 main middle sections, and one of the curved wingtips of the lower/rear wing. I have made the other side's spar and as of this weekend, should have it all completed and glued up. Once I place the leading edge plywood on, I could cover it in fabric. However, I'll likely leave that until I've completed the top wing, just in case I need to re-answer a construction question along the way!
Most of my work the past few weeks has been on the wings. I have completed the 2 main middle sections, and one of the curved wingtips of the lower/rear wing. I have made the other side's spar and as of this weekend, should have it all completed and glued up. Once I place the leading edge plywood on, I could cover it in fabric. However, I'll likely leave that until I've completed the top wing, just in case I need to re-answer a construction question along the way!


Late FEB 2015. MIDDLEBURY, CT
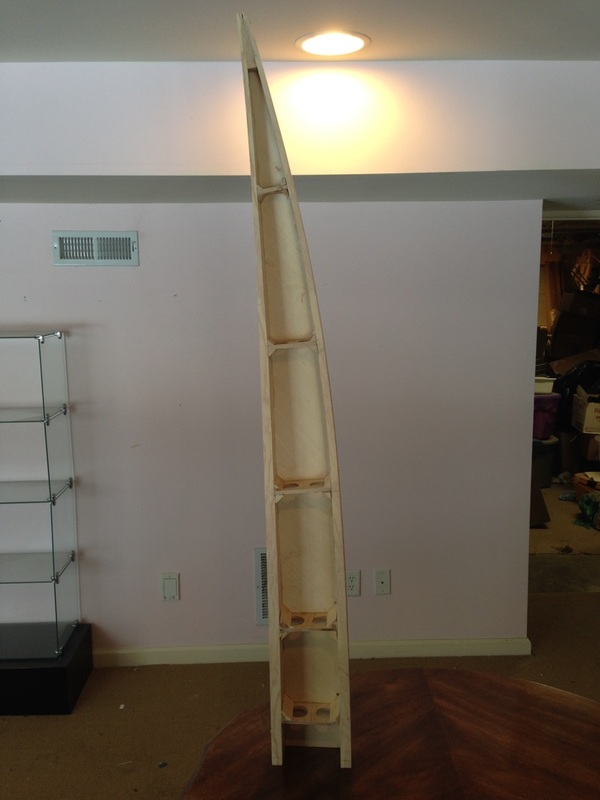
Working on upper wing now. The curved spar tips are fun!
Working on upper wing now. The curved spar tips are fun!
15APR2015. MIDDLEBURY, CT
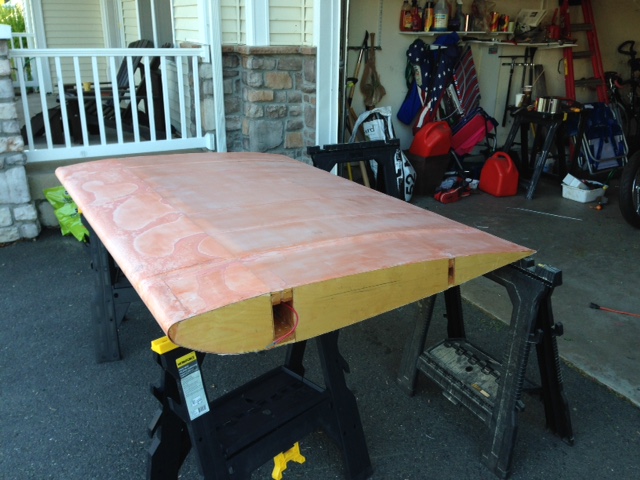
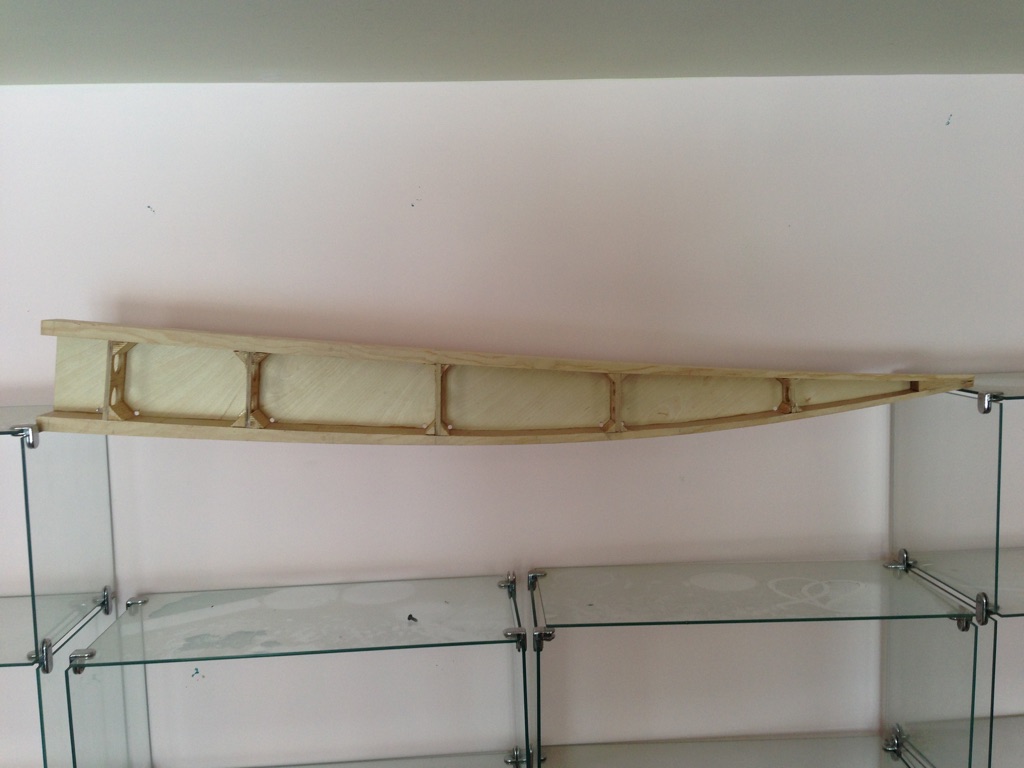
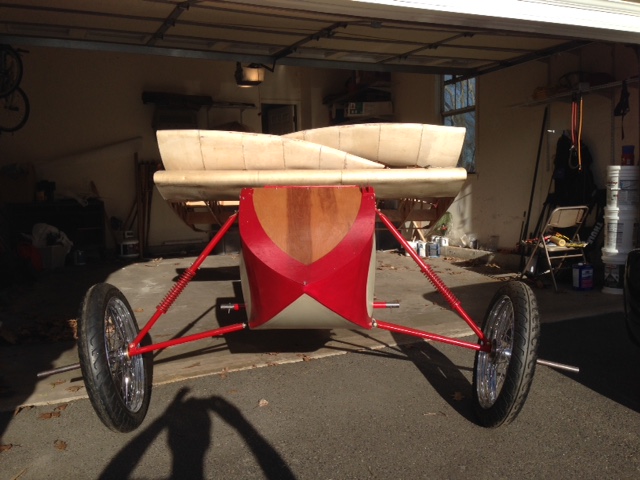
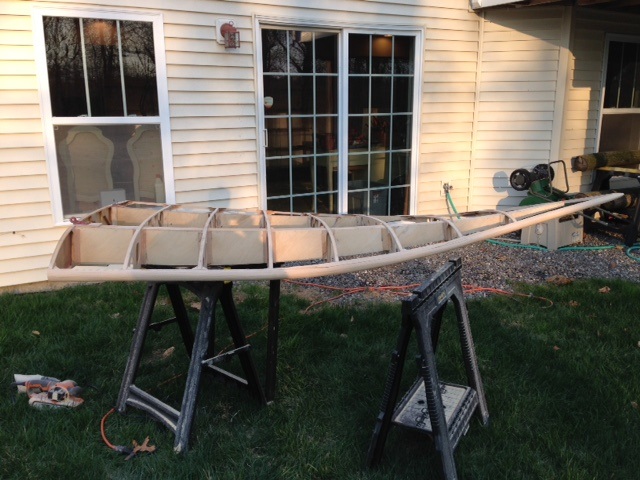
The rear/lower wing is complete and ready to cover. I just need to finish installing the locking brackets and make up the flying wires/turnbuckles for the lower bracing. I am now setting up to assemble the front/upper wing outer sections- all the components are made. It's most important to make sure everything lines up tip-to-tip before drilling and installing hinges. I use a laser and it really makes things easy. I just mocked everything up and it's amazing how curved the wingtips are- should look interesting in flight and rolling down the field. Here is the lower wing:
The rear/lower wing is complete and ready to cover. I just need to finish installing the locking brackets and make up the flying wires/turnbuckles for the lower bracing. I am now setting up to assemble the front/upper wing outer sections- all the components are made. It's most important to make sure everything lines up tip-to-tip before drilling and installing hinges. I use a laser and it really makes things easy. I just mocked everything up and it's amazing how curved the wingtips are- should look interesting in flight and rolling down the field. Here is the lower wing:


MON 27APR2015 Middlebury, CT
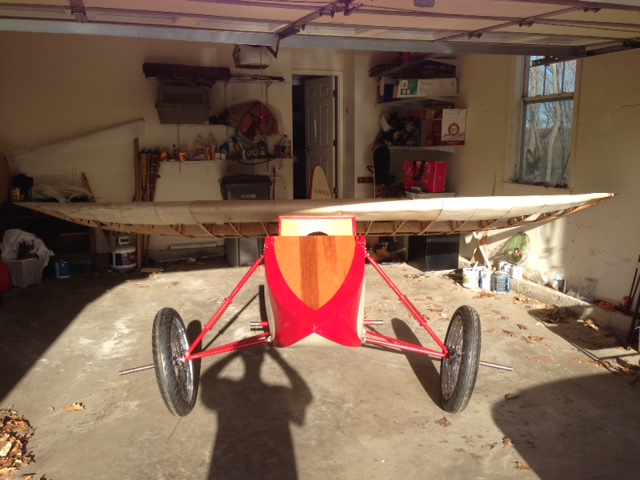
Here are some additional photos, including work on the top wing!
Here are some additional photos, including work on the top wing!

WED 06MAY2015 Middlebury, CT
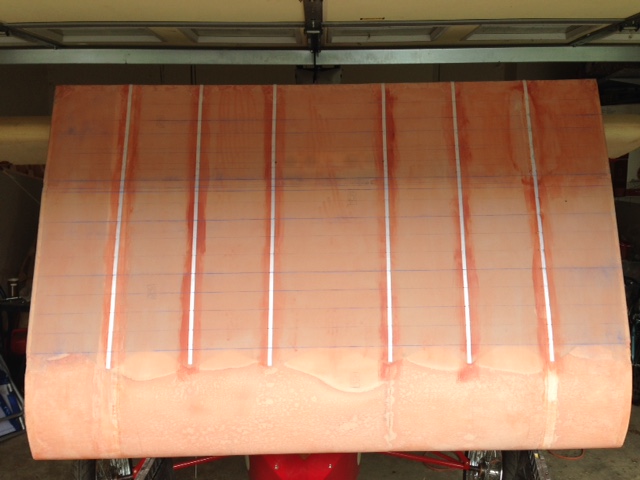
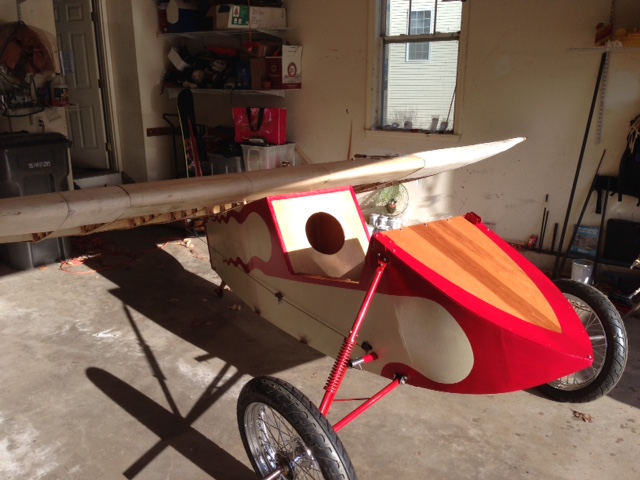
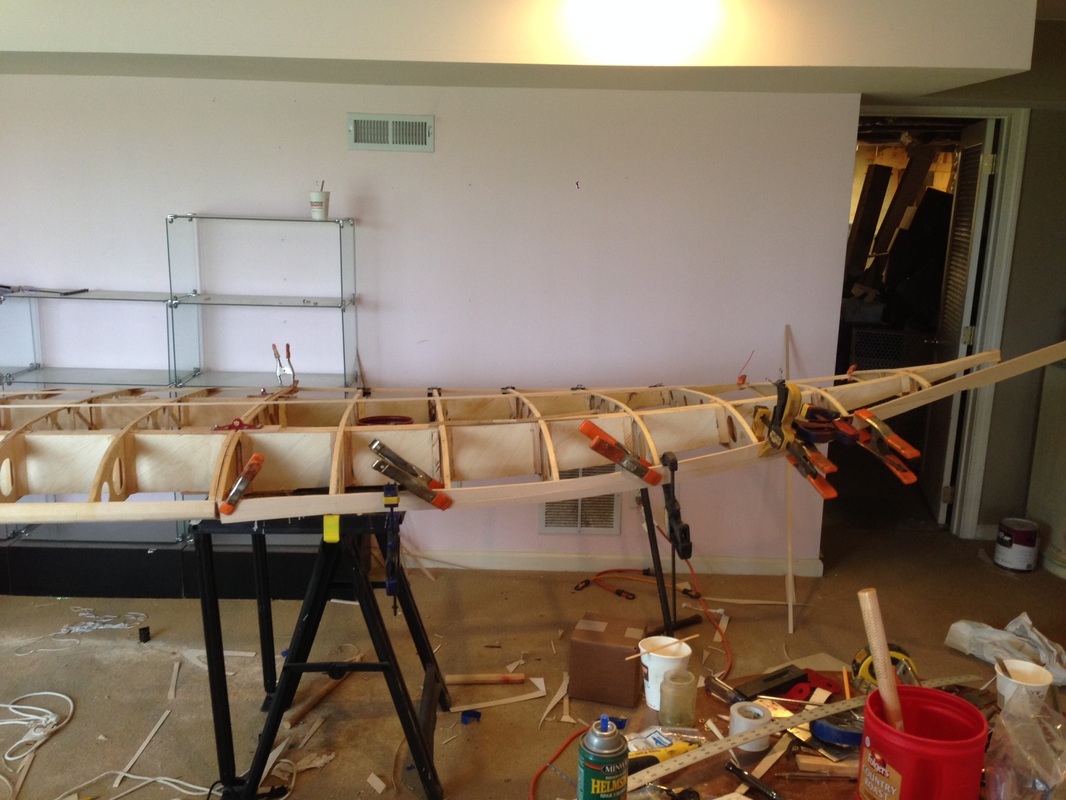
Lots of small work being done now. I have for the most part finished the upper wing tips that fold over. On the left side, I am applying the plywood leading edge (see below, after the LE sanding was completed) and for the right side, I need to sand that leading edge and then attach the plywood. The cabanes are being welded up this week so I am hoping to perform a trial fitting this weekend. Then the gas tank needs to be made and inserted. With that, the wings will be covered and painted, the flying wires attached and then only the engine needs mounting (and the instruments/gauges installed and prop carved) and we're done! You know what they say, 90% done, 90% left to go!
Lots of small work being done now. I have for the most part finished the upper wing tips that fold over. On the left side, I am applying the plywood leading edge (see below, after the LE sanding was completed) and for the right side, I need to sand that leading edge and then attach the plywood. The cabanes are being welded up this week so I am hoping to perform a trial fitting this weekend. Then the gas tank needs to be made and inserted. With that, the wings will be covered and painted, the flying wires attached and then only the engine needs mounting (and the instruments/gauges installed and prop carved) and we're done! You know what they say, 90% done, 90% left to go!
WED 27MAY2015 Middlebury, CT
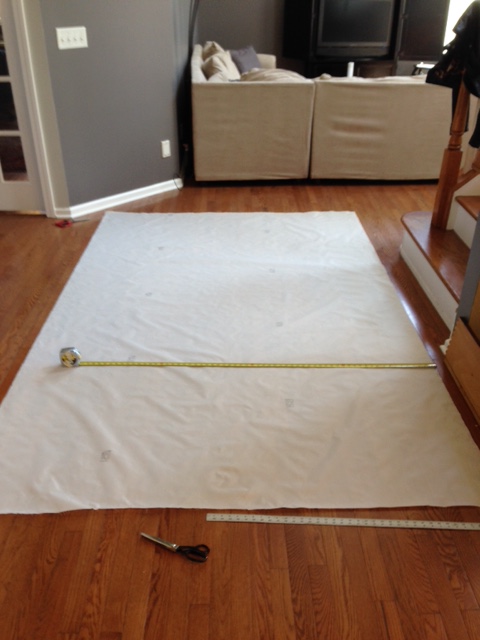
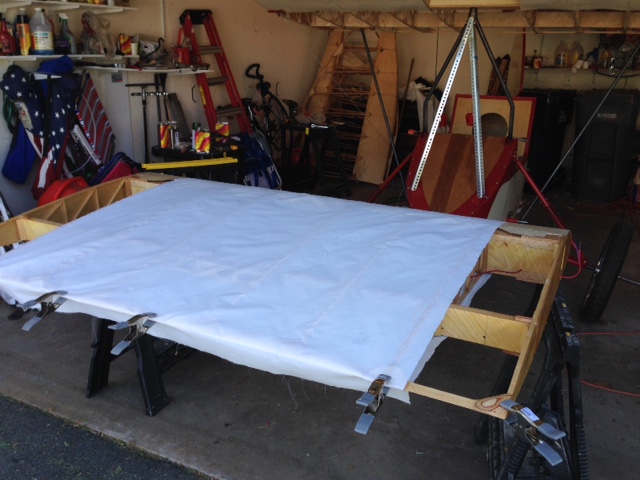
I've begun covering the wings! I started with the lower wing mid-section. Now on to the wing tips, then the upper wing.
I've begun covering the wings! I started with the lower wing mid-section. Now on to the wing tips, then the upper wing.